How do I put my logo on the menu covers?
If you have a high resolution version of your logo or pattern that you would like on your menu covers, preferably a vector in a .AI, .SVG or .EPS file format (the person who designed your logo will be able to supply you with this if you don’t already have one), we can put this on your menu cover. If you do have trouble finding a high resolution file then we may be able to offer an additional design service for you. In doing this you would be able to use this file for any other branding projects you may be planning in the future.
Once you have your high resolution file and have decided what material you would like, you can consider how you would like this to be put on the menu covers.
Hot Foil
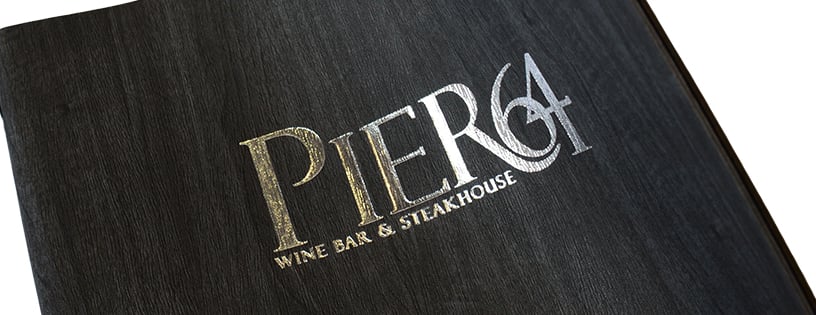
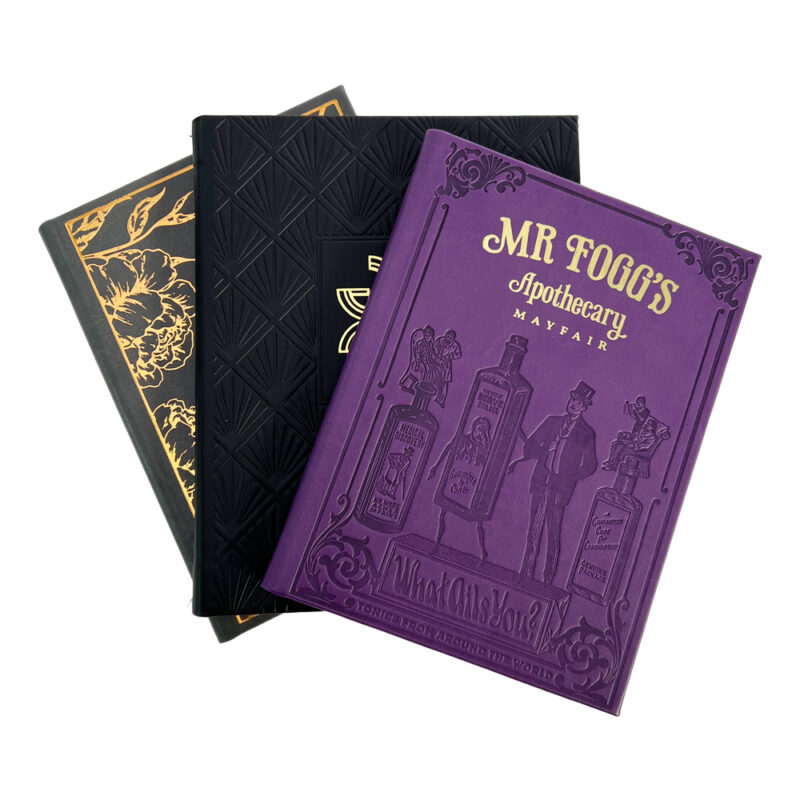
Hot Foiling is among our most popular processes and is available on the majority of our materials. The hot foil process involves creating a stamp of your logo or pattern and then stamping this with hot foil on to your menu cover. This means that the process is usually a one off charge for the creation of the blocking plate – meaning it is the same cost no matter how many menu covers you are having printed! The foil comes in many different colours and usually have a metallic shine.
Only one foil colour can be used per stamp on any one menu cover, however using two different stamps allows for the possibility of a multi-coloured branding style.
Deboss
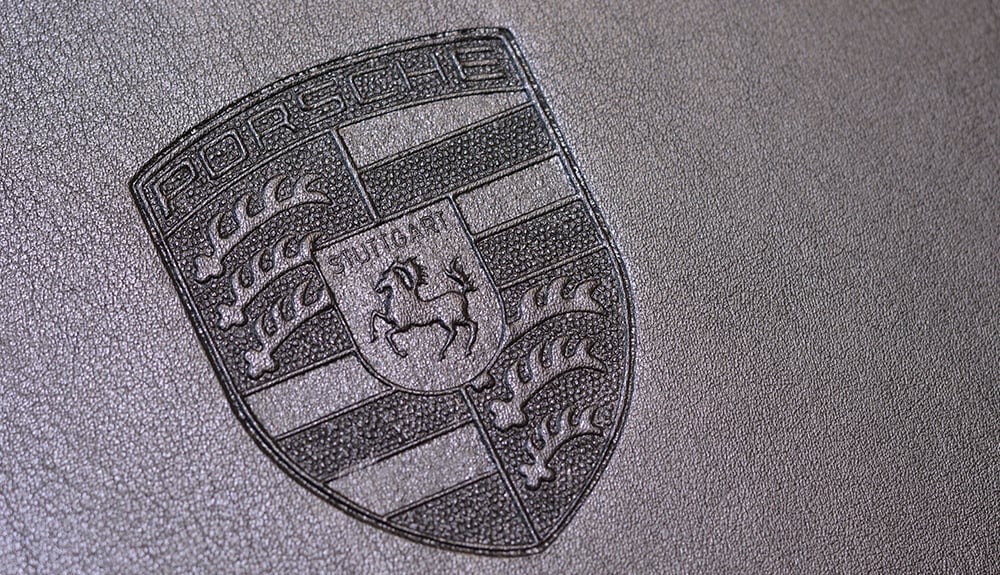
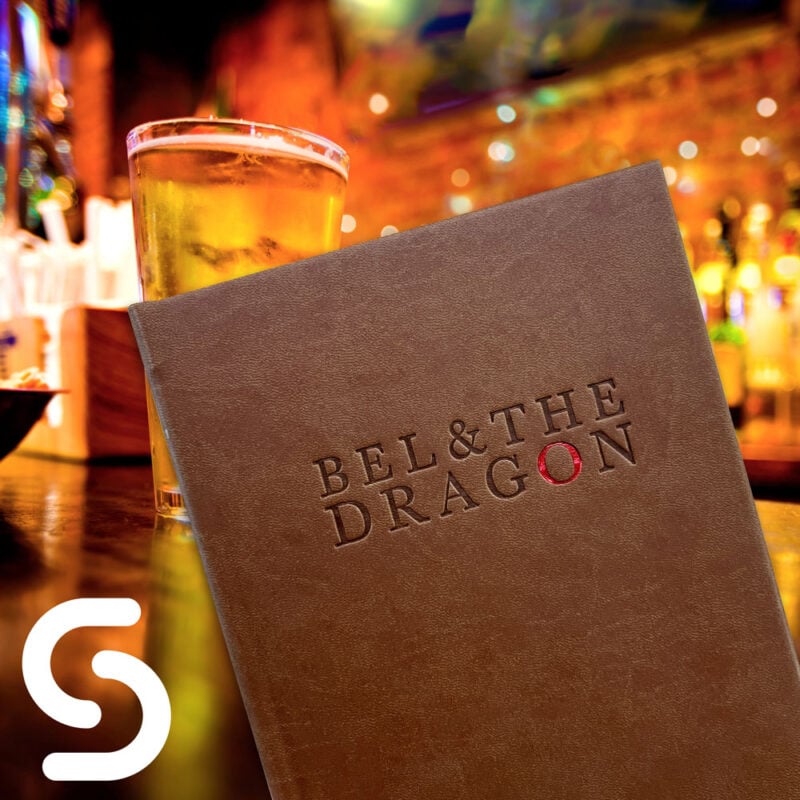
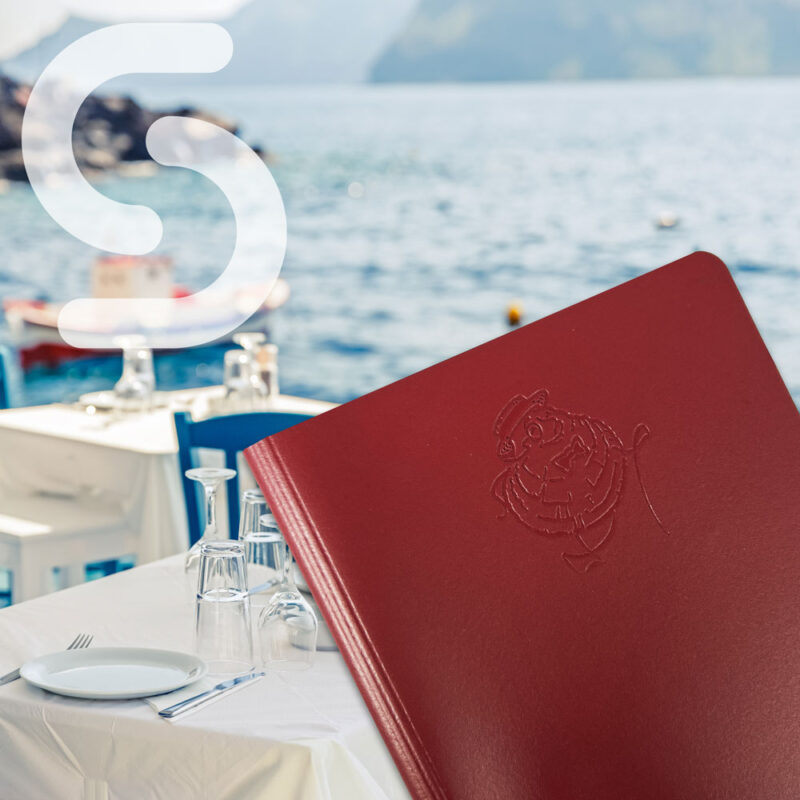
Debossing is similar in process to the hot foil technique and also usually only incurs a one off charge. However, this stamps without the hot foil, leaving only an indentation of your logo or pattern. This can be a desirable, more subtle way of personalising your menu covers.
Acquiring two or more stamps and using a range of the debossing technique and hot foil techniques creates a stunning effect commonly seen on our Labyrinth Menu Covers.
Digital Print
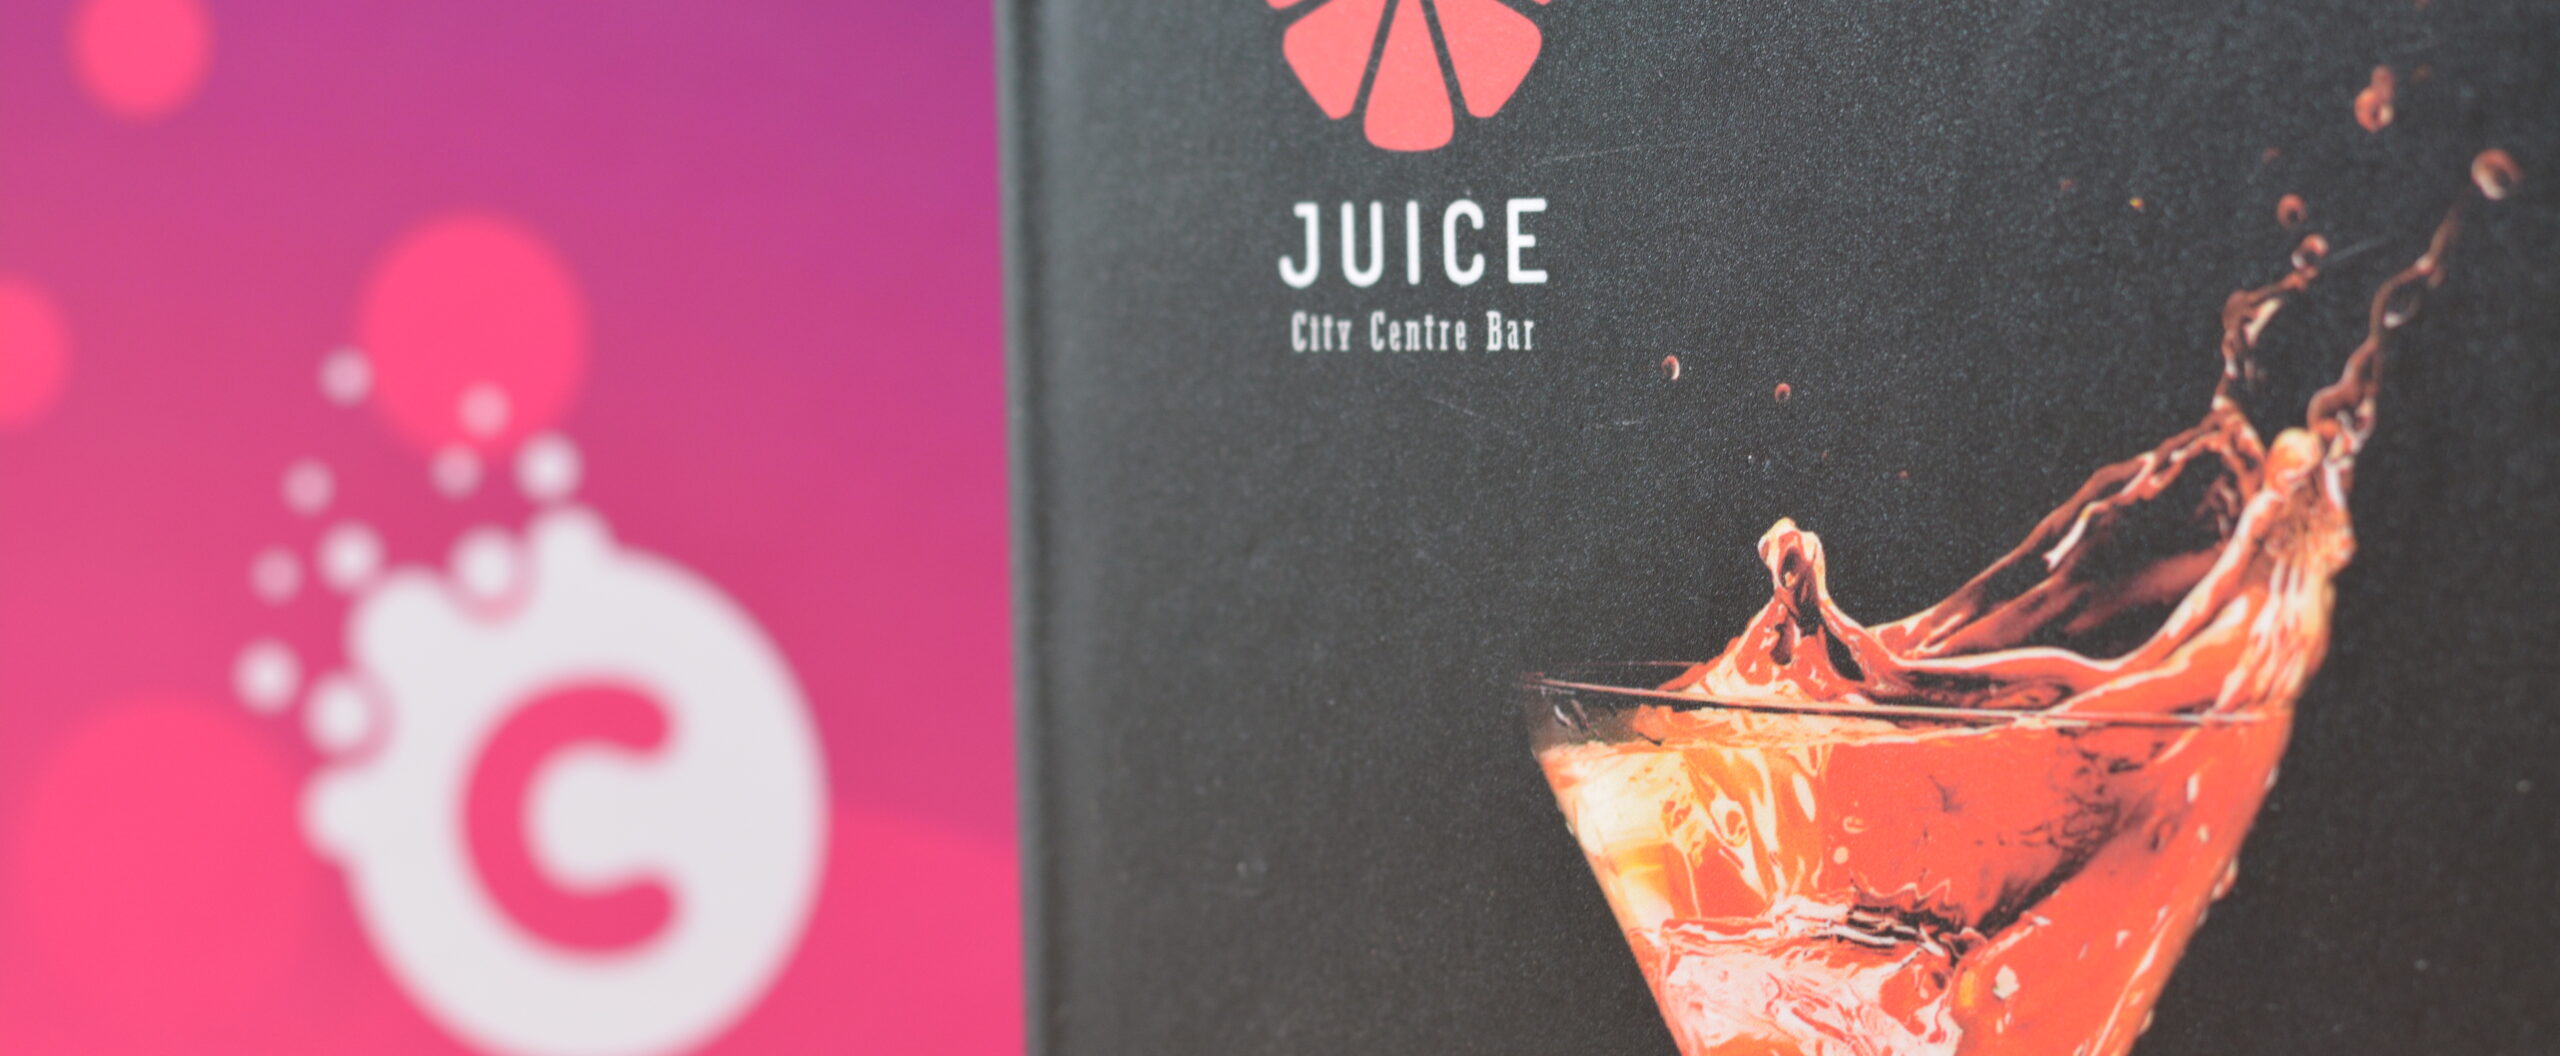
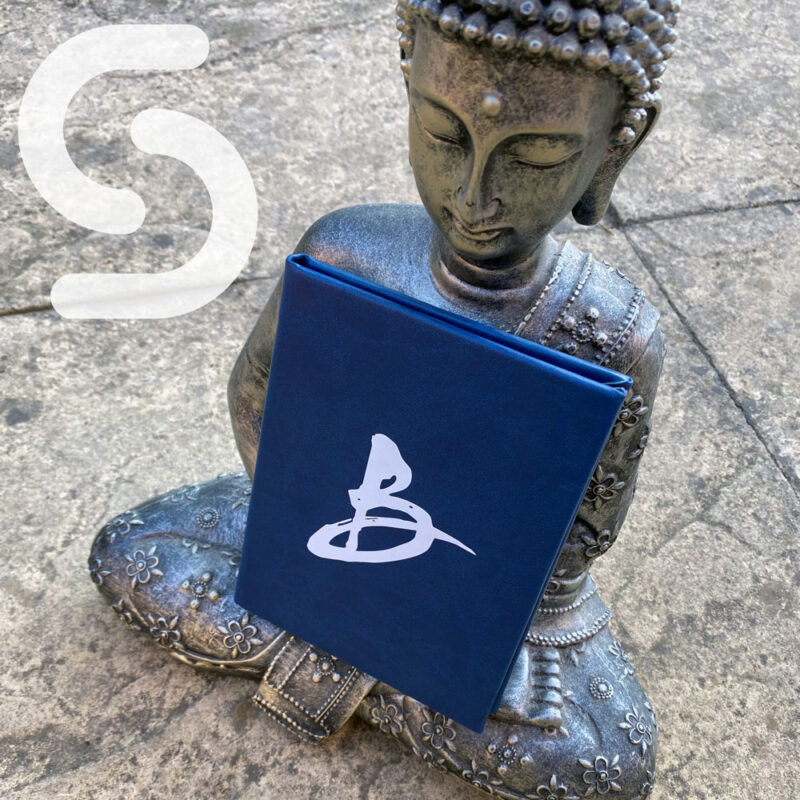
Digitally printed Menu Covers are usually printed on to a smooth vinyl material. Using this method means that you can print whatever you would like on to the menu covers. Even a full-colour photo! This is the same method used to print the wooden effect on our Digitally Printed Wood veneer Menu Covers and can also be used on Buckram, Aluminium and Bonded Leather, if desired.
A great idea is to use the printed material as an inner lining for a menu cover made with a different outer material. This offers a great contrast and a huge surprise when opening the menu cover!
Engraving
Laser engraving is available on our Real Metal and Real Wood Menu Covers and cuts a thin later from the top of the material in the shape of your logo. Similar to the Debossed effect but with harder edges.
Metal or Wooden Plate
Placing a metal or wooden plate on to a menu cover adds a new dimension. Allowing you to add a slight rustic or industrial feel to a chic, modern menu cover creates a wonderful contrast.
Cut the wood or metal in to the shape you would like or print your logo on to the material before it is place on to the menu cover for great results!
What is Labyrinth?
Labyrinth is a design concept designed by Smart Hospitality Supplies incorporating an intricate pattern over the whole menu and surrounding text or a logo. Combining this with a mixture of hot foil and debossing techniques has a wonderful effect and makes your logo stand out. Create your own labyrinth pattern or use our additional design services to create a unique pattern perfect for your venue.
Why not incorporate the pattern from your wallpaper or curtains on to your menu covers?
What fixing method should I choose?
Screw Fix
The Screw Fixing method comes in two different styles – the external screw fix and the internal screw fix – both styles require the inserts to be hole punched for the screw fixings to fit through. Screws come in gold or silver and are placed a standard hole punch width apart. The external screw fix can be seen from the outside of the menu cover creating an elegant marginalised spine, whereas the internal screw fix is hidden under flaps on the inside of the menu cover.
Cord Fix
Similarly, there are two different types of cord fixing – the Cord & Eyelet and the Concealed Cord Fixings. The difference between the two is that the Cord & Eyelet attaches a cored through eyelets in the spin of the menu cover, ideally suited to hold PVC pockets. The Concealed Cord is a band running through a tube fitted on the inside of the spine of the menu cover, this is ideally suited to placing a folded piece of card or paper underneath.
Grip Fix
The Grip Fix is a fixing mechanism rarely seen in the UK, but becoming increasingly popular. Simply pull the menu fixing apart, slot your inserts in and let the grip fix close down on them. Perfect for quick changes.
Magnet Fix
Similar to the Screw Fixing, the Magnet Fixing can be places on the outside or inside of the menu cover. Place your inserts in between the magnets and the natural magnetism will hold your inserts in place securely.
Retainer Mounts
Two different types of retainer mounts are available – Parallel Bars and Corner Mounts. Parallel bars are flaps place on the top and bottom or both sides of the face that you wish to display your menu insert. The insert is then fitted underneath these which hold them in place. Corner Mounts are the same but they are placed in each corner.
What Size is best?
We have a range of different standard sizes available, however, as we make all of our menu covers from scratch, we can make them in bespoke sizes if needed. Which size you go for will depend on which size menu insert you intend to use. We make the menu covers slightly larger than these sizes so that your menu inserts are protected and looks tidier.
Our standard sizes are A4, 2/3 A4, 1/2 A4, A5 and 21cm x 21cm. Generally, the most popular are A4, 1/2 A4 and A5 due to their practicality. A5 and 1/2 A4 make for great drinks menus and dessert menus with A4 being commonly used for main menus. 2/3 A4 and 21cm x 21cm are sometimes used as lunch menus or smaller main menus.
